DIY & Projects · Furniture
The "That Is So Much Better" Bookcase
A flat-pack bookcase, a sheet of ply, a tin of paint and about six hours. The cheapest piece of furniture in the house stops looking like the cheapest piece of furniture in the house.
By Elliot Shaw, Editor, Renovation & Builds · 8 October 2012 · 7 min read
From the archive. This project first appeared on Homemade Ocean and has been re-edited and fact-checked for the relaunch.
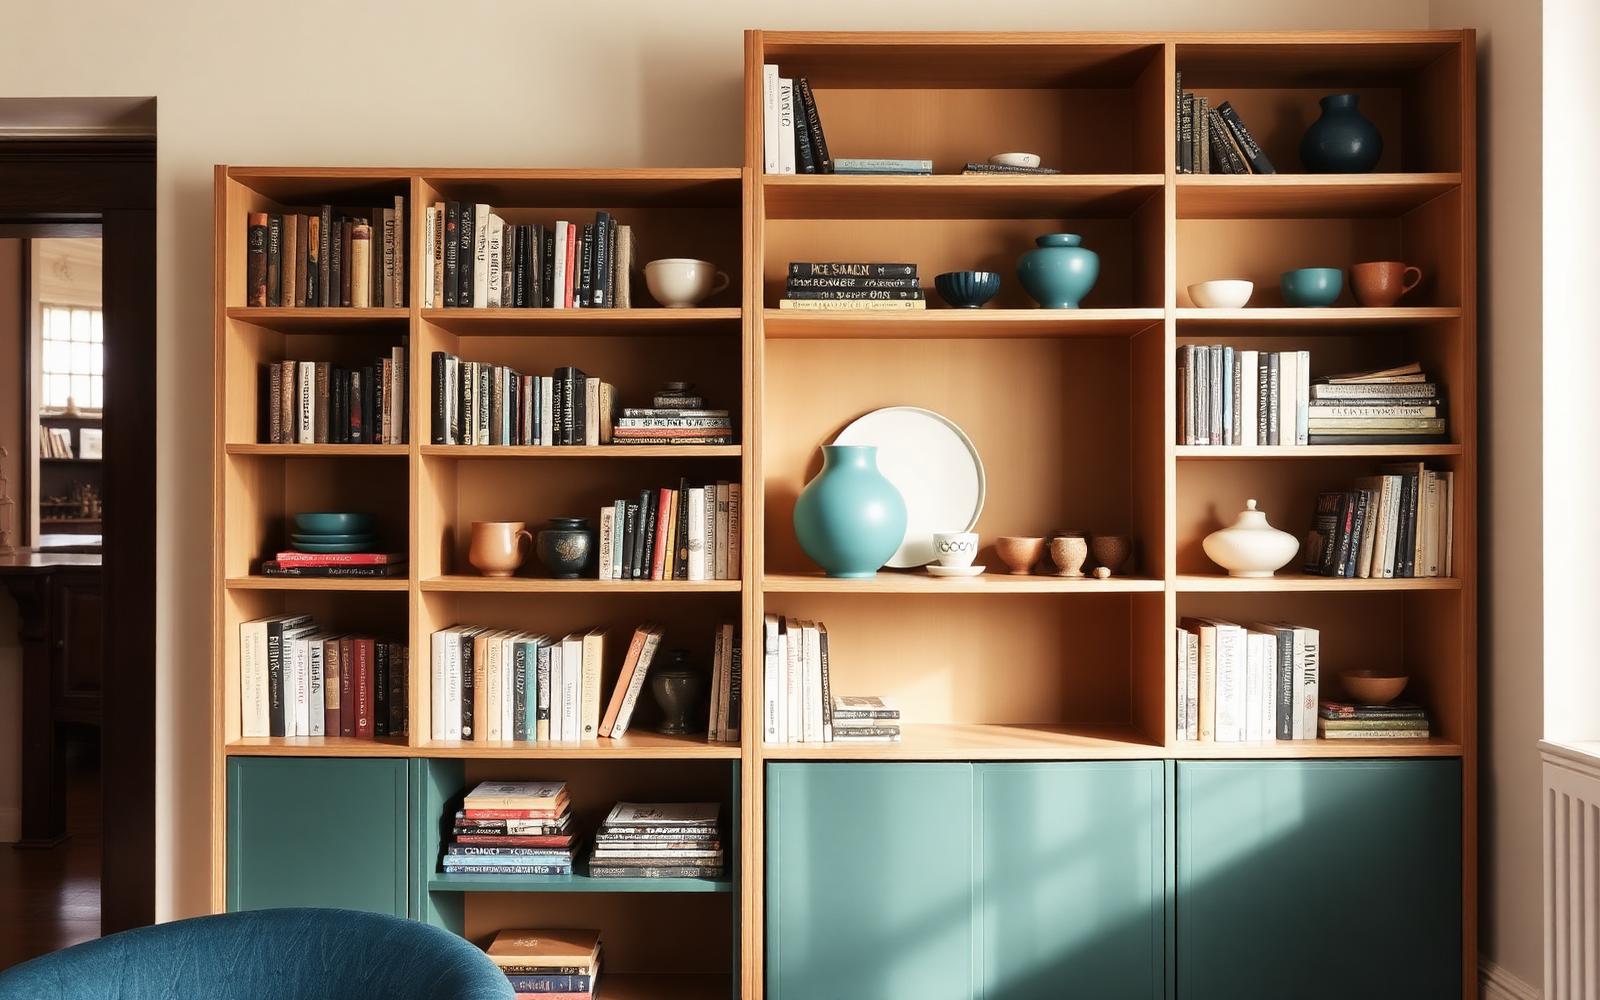
Everyone owns this bookcase. Laminate carcass, five shelves, corrugated cardboard back stapled on with about forty staples, wobbles if you look at it. It costs almost nothing and it looks like it.
The good news is that the bones are fine. The proportions are usually decent, the shelf spacing is sensible, and the thing is holding books without complaint. What lets it down is three specific details, and all three are fixable in an afternoon.
The three problems
1. The back. Corrugated card, which is why it racks and wobbles.
2. The edges. Exposed laminate edge, sometimes with the printed woodgrain peeling at a corner.
3. The base. It sits flat on the floor, which reads as temporary. Real furniture is lifted or plinthed.
Fix those and nobody guesses what it started as.
What you need
- 6 mm plywood, cut to the full back panel size
- 18 mm pine or poplar, 45 mm wide, for the front edges and plinth
- Wood glue, 25 mm panel pins, a hammer or a brad nailer
- Filler, 120 and 180 grit paper
- Primer suitable for laminate, and eggshell or satin paint
- A hand saw, a drill, a set square and something to clamp with
Budget: comfortably under the price of the bookcase itself, depending on what paint you have.
The build
Strip the cardboard back off. All of it, staples included. Pliers, ten minutes, mildly satisfying.
Square it up before the new back goes on. Stand the carcass against a flat wall, measure both diagonals across the back, and push the top corner until the two measurements match. That is the moment the wobble leaves. Have your ply cut to the exact rectangle and clamp it while you fix it.
Glue and pin the ply back. Glue on every carcass edge, then pins at 100 mm intervals. The ply back is doing structural work — it is what turns a parallelogram into a rectangle permanently.
Face the front edges. Cut lengths of the 18 mm timber to cover each shelf front and both uprights. Glue and pin them on. Two things happen at once: the exposed laminate edge disappears, and every shelf visually thickens from 15 mm to 18 mm of solid timber, which is the single biggest change to how expensive the thing looks.
Add a plinth. A simple three-sided box of the same timber, 60 to 80 mm tall, set back 15 mm from the front face. It lifts the carcass off the skirting and casts a shadow line under it. This is the detail that reads as "built in".
Fill, sand, prime, paint. Fill every pin hole and the joint between timber and laminate. Sand back flat. Use a proper adhesion primer — ordinary emulsion will peel off laminate within a month. Two thin coats of eggshell, sanded lightly between coats.
Where it goes wrong
- Skipping the squaring step. If you fix the back on out of square, it is out of square forever.
- Thick paint. Two thin coats beat one thick one every time; thick paint on a vertical face sags at exactly eye level.
- The wrong primer. Laminate needs a bonding primer. Ask at the counter, do not guess.
Fourteen years later
This was one of the earliest builds published on Homemade Ocean, and it is still the one we recommend to people who want to try woodworking but do not have a workshop, a table saw, or the confidence to cut joints. You are not building furniture from scratch — you are correcting furniture that already exists, which is a much shorter walk.
Do one, live with it for a week, and the phrase that gave the project its name will occur to you unprompted.
- furniture
- upcycle
- paint
- flat-pack
- legacy