DIY & Projects · Furniture
The Plywood Floating Desk That Fits Anywhere
One sheet of birch ply, two hidden cleats and an afternoon. A wall-mounted desk with no legs to kick, sized to the gap you actually have.
By Elliot Shaw, Editor, Renovation & Builds · 2 June 2026 · 7 min read
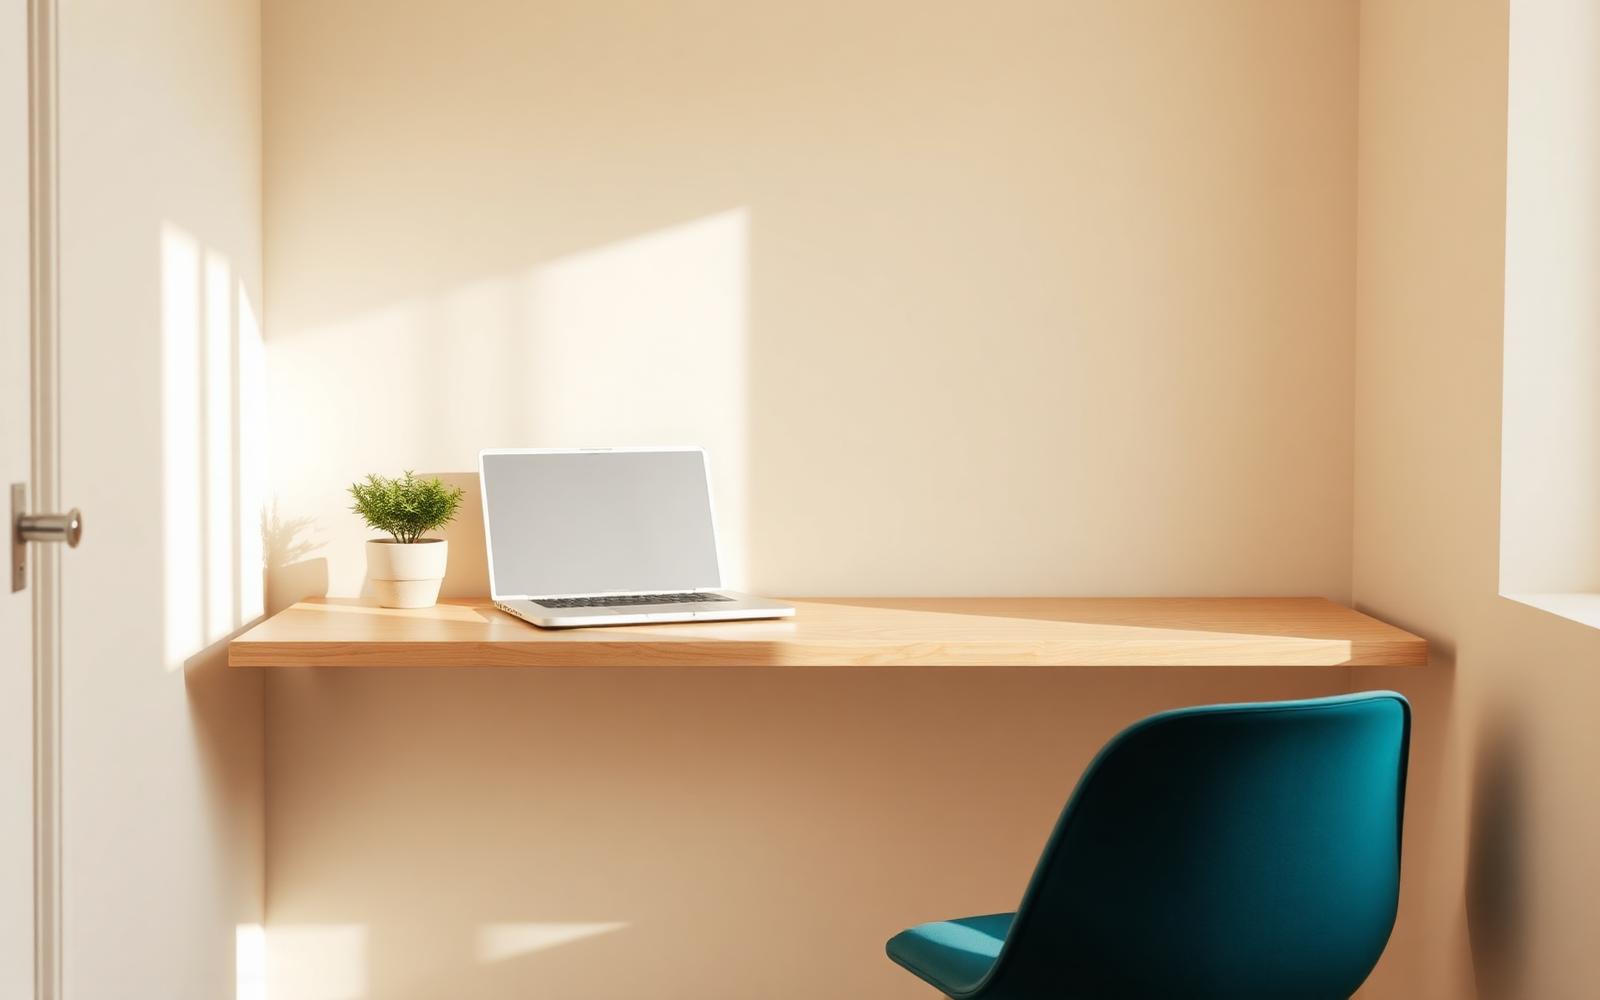
The best desk for a small room is the one that is not standing on the floor. Legs eat visual space, collect dust and dictate where a chair can go. A cleated wall desk gives you a working surface with nothing underneath it.
The design in one paragraph
A rectangle of 18 mm birch plywood sits on a frame of 45 x 45 mm battens screwed into the wall studs. The battens are set back from the front edge and inset from the sides, so from any normal viewing angle the desk appears to float. A hardwood strip glued to the front edge hides the plywood layers and stiffens the span.
Sizes that work
- Depth: 500 mm for a laptop, 600 mm if you want a monitor and a notebook side by side. Below 450 mm the chair starts feeling wrong.
- Height: 730 mm to the top surface is the standard. Sit at your dining table with your usual chair and measure it if you are unsure.
- Span: with 18 mm ply on cleats at both ends, 1200 mm is comfortable. Beyond 1400 mm add a centre cleat or step up to 24 mm.
Finding the structure
This is the part you cannot improvise. The whole desk hangs off the fixings.
- Timber stud walls: find studs with a detector, confirm with a 2 mm pilot hole in a spot the desk will cover. 80 mm screws into the centre of each stud.
- Masonry: 8 mm frame fixings at 300 mm centres. Straightforward and very strong.
- Dot-and-dab plasterboard on masonry: the plasterboard is not attached to anything useful. Use long frame fixings that pass through the cavity into the blockwork behind.
- Plasterboard with nothing behind it: heavy-duty metal toggles, and keep the desk to 900 mm and light duty.
Build order
1. Cut the ply to size, or have the merchant cut it — most will, and their panel saw beats a circular saw and a straight edge.
2. Cut the cleats: one for the back wall at full length, two side cleats at desk depth minus 60 mm.
3. Mark a level line on the wall at 712 mm (desk height minus the 18 mm top). Use a spirit level, then check it against the floor and the window reveal — if the floor slopes badly, splitting the difference looks better than true level.
4. Screw the back cleat on, then the side cleats, checking each with a small level.
5. Drop the top on, check the overhang is even, and fix down through the top into the cleats with 40 mm screws — countersunk, then filled.
6. Glue and clamp the hardwood front edge. Plane or sand flush when dry.
Finishing
Sand to 180 grit. Two coats of hardwax oil is the fastest route to a surface that looks like furniture and can be repaired with a rub of more oil in two years. Avoid varnish on a work surface — when it chips you have to strip the whole thing.
Where people get it wrong
- Fixing to plasterboard alone with plastic plugs. It will hold for about a month and then leave a hole the shape of a desk.
- Making it too deep. A 700 mm desk in a small room is a corridor blocker.
- Skipping the front edge strip. Bare ply edge is the single detail that gives away a rushed build.
Give it an afternoon, and you get back the entire floor under your desk.
- plywood
- desk
- wall-mounted
- small space