DIY & Projects · Storage
A Pegboard Tool Wall for People Without a Workshop
Half a square metre of wall, framed properly, holds every tool most households will ever own — and puts an end to the drawer that eats screwdrivers.
By Elliot Shaw, Editor, Renovation & Builds · 18 May 2026 · 5 min read
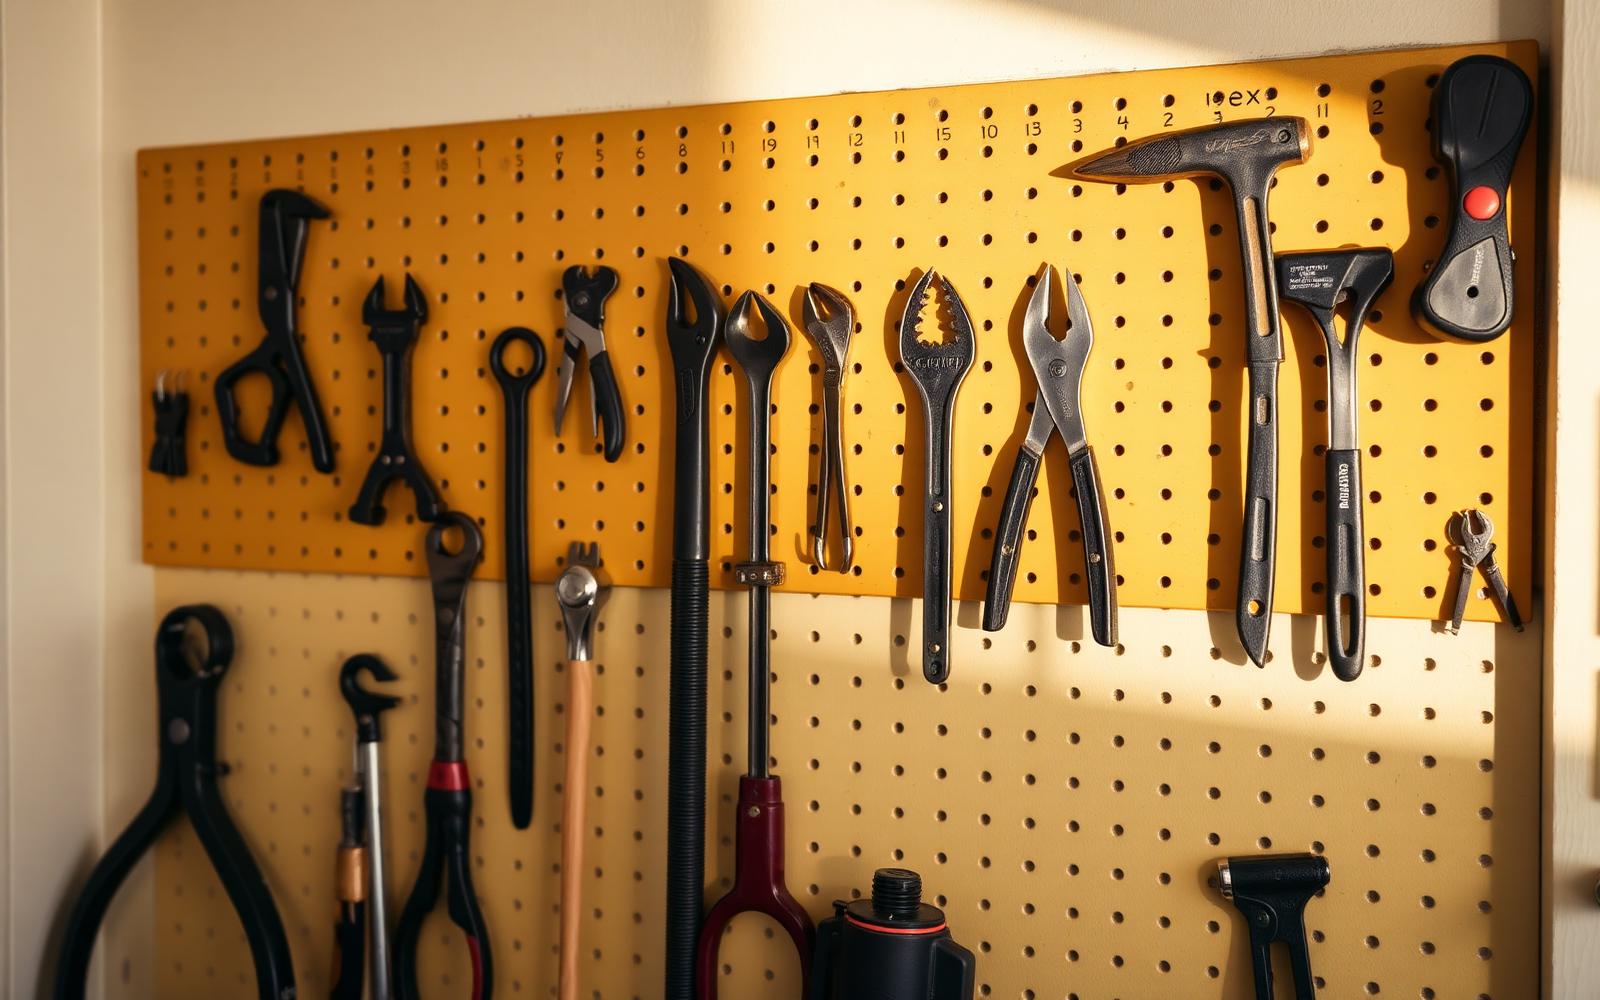
Most home tool storage is a plastic box under the stairs. It works, in the sense that the tools are technically in the house, and fails in the sense that finding the 5 mm bit takes eleven minutes.
A pegboard wall solves this by making every tool visible from the doorway. It is also the cheapest storage project in this section.
Framing it out properly
Pegboard needs a gap behind it for the hooks to engage. This is the step people skip.
Build a simple frame from 25 x 45 mm batten: perimeter plus one vertical in the middle for anything wider than 900 mm. Fix the frame to the wall first, checking it is level and flat — pack behind it with slivers of plywood where the wall bows. Then screw the pegboard to the frame with washers under the screw heads so you do not crush the board face.
The 25 mm gap is what lets standard hooks hook. Board flat against the wall is a board with no hooks.
Sizing
- Small flat: 600 x 900 mm holds a hammer, pliers, screwdrivers, tape, square, a small saw and a bit driver set.
- Serious hobbyist: 1200 x 1200 mm, with a shelf across the bottom for the drill and its charger.
- Mount the bottom edge at about 1000 mm from the floor if there is a bench underneath, 1300 mm if it stands alone.
Laying it out
Do not start hooking things up randomly. Lay the board flat on the floor, arrange your tools on it, and move them around until the layout matches how you work: measuring and marking tools together, cutting together, fixing together, most-used at chest height.
Then draw around each tool with a pencil or a marker. The outlines are not just a workshop cliché — they are what makes a missing tool obvious at a glance, which is what actually keeps the wall tidy after month three.
Details worth adding
- A small shelf along the bottom for the drill, glue and anything that will not hang.
- Jars on brackets for screws and plugs. Clear jars, so you can see what is nearly empty.
- A strip of magnet for drill bits and driver bits, which are the single most losable objects in any home.
- Paint the board before mounting. A dark, muted colour makes the tools read as the interesting thing and the wall disappear.
Renting?
Frame the pegboard onto a piece of 12 mm ply, lean it against the wall and secure it with two small brackets at the top. Two screw holes, filled in an evening when you move.
Twenty minutes of layout thinking is what separates a tool wall you keep using from a decorative one.
- storage
- tools
- organisation
- renter friendly